![]()
The 4 foot by 10 inch model has been successfully constructed using the materials and assembly techniques largely as planned. This page is a report on what has been learned in this phase of the project. The information is in three parts. First a series of photos of the assembly process. Second a list of problems encountered in the construction, how they were resolved, how we will modify the assembly process for the 12 foot ¼ scale model in the next phase. Last is a report on the results of testing on the completed 4 foot model. That testing has not yet begun.
Assembly Photos
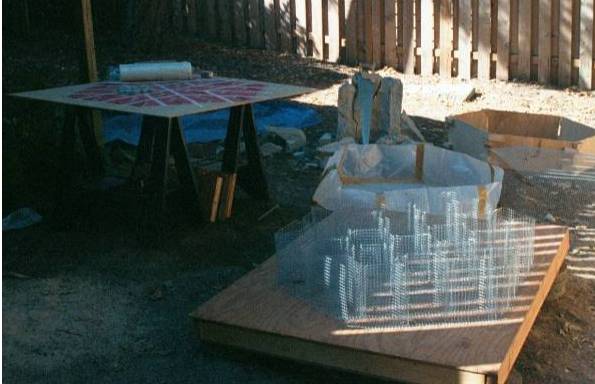
Ready
to rock
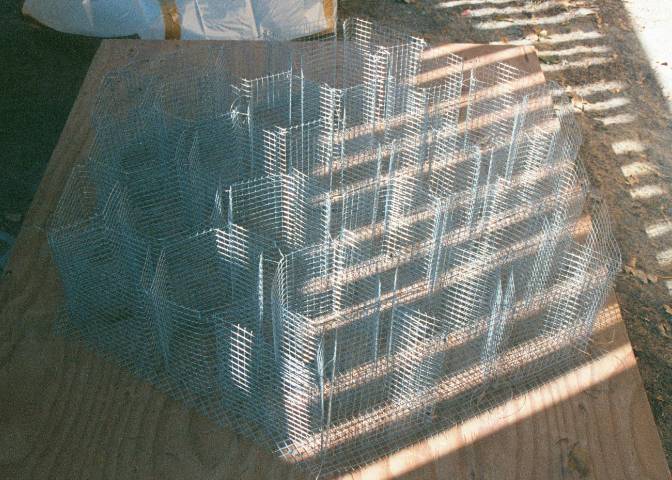
Wired-up
cell remesh to floor.
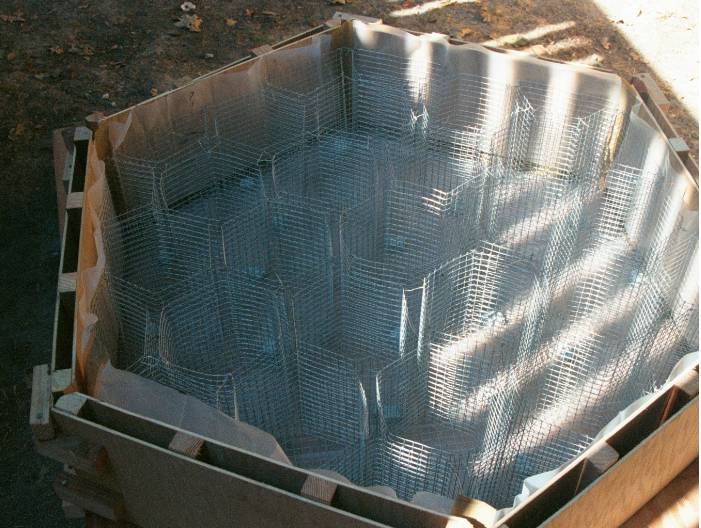
Added
floor and wall poly sheet. Setup wall form and spacers.

Poured
normal concrete floor layer.
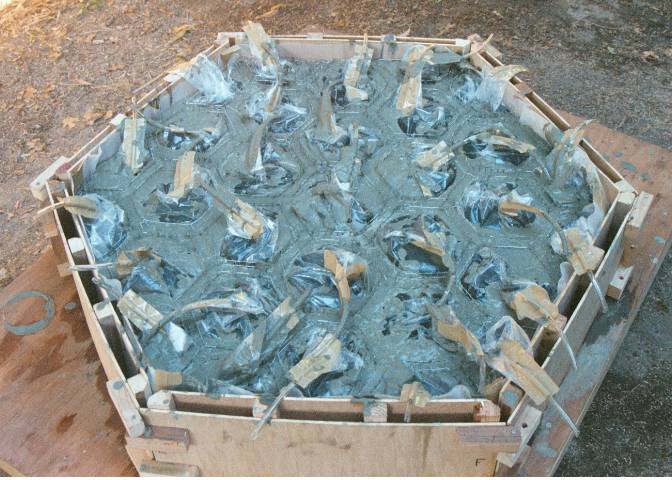
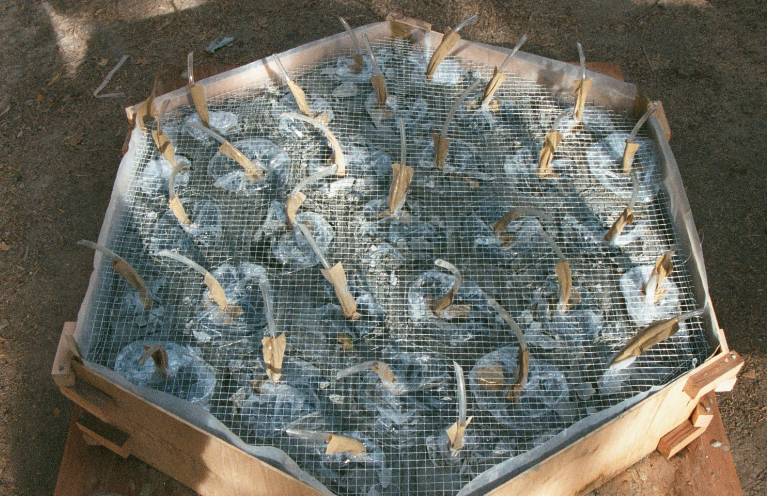
Placed
and filled water bags. Poured cellular concrete inner partitions.
Placed
roof remesh. Removed outer wall spacers.
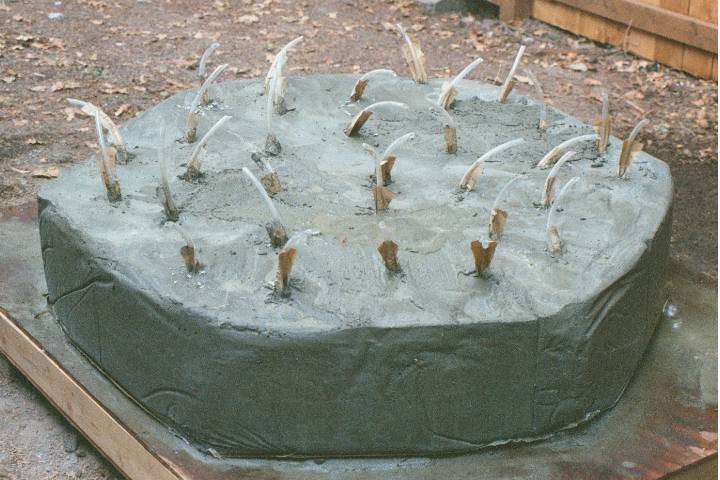
Poured
normal concrete outer walls and roof. Removed form. Water bags have
not yet been removed
Problems Encountered in Assembly
![]() Wrinkles in poly sheet
put 1/2” grooves in walls, weakening them.
Wrinkles in poly sheet
put 1/2” grooves in walls, weakening them.
This will be less of an issue at larger scales. Still, need more care pulling out slack before setting.
![]() Rough floor punctured
water bags.
Rough floor punctured
water bags.
This will not be a problem with 6 mil poly (vs 2 mil).
![]() Slack in bags blocked
pump-out tubes.
Slack in bags blocked
pump-out tubes.
Wrap tube ends with a fragment of open-cell foam or equivalent.
![]() Constructing bags and
hex wire cells was very labor-intensive.
Constructing bags and
hex wire cells was very labor-intensive.
Serious issue. Needs more thought.
![]() Floor mesh must be
placed before wall spacers.
Floor mesh must be
placed before wall spacers.
![]() Need jig for bending
wire cells.
Need jig for bending
wire cells.
![]() Cells
were slightly too big.
Cells
were slightly too big.
Larger scale and wire cell jigs should fix this.
![]() Bags were filled before
pouring cellular concrete. (Won't work with 10 ft high cells).
Bags were filled before
pouring cellular concrete. (Won't work with 10 ft high cells).
Cell crete was poured in at several points, flowed very well. Coordinating bag filling with the pour remains to be tried.
![]() Sloppy placement of floor concrete
left sharp crust on hex cell walls, puncturing bags.
Sloppy placement of floor concrete
left sharp crust on hex cell walls, puncturing bags.
So be neater about it next time.
![]() Water tubes made it hard
to smooth down the roof concrete layer.
Water tubes made it hard
to smooth down the roof concrete layer.
Not much to be done about this. Will be a `little better at larger scales.
![]() Negative meniscus of
roof concrete against poly wall sheet left ugly sharp edge.
Negative meniscus of
roof concrete against poly wall sheet left ugly sharp edge.
After set but before cure, this edge was dressed with a wood scaper.
![]() Hard to control
thickness on this small scale. Normal concrete outer skin ended up
almost twice as thick as planned, using more materials, and making
the model twice as heavy, too heavy to float.
Hard to control
thickness on this small scale. Normal concrete outer skin ended up
almost twice as thick as planned, using more materials, and making
the model twice as heavy, too heavy to float.
Underscores importance of controlling thickness. Should be less a problem at larger scales.
![]() Bags should be removed
after set, but before cure.
Bags should be removed
after set, but before cure.
Testing Results
![]() Weight and bouyancy determination.
TBD
Weight and bouyancy determination.
TBD
![]() Airbag lifting and launching
technique.TBD
Airbag lifting and launching
technique.TBD
Lift model by 4 inches.
Transfer to an adjascent bag.
Standing “friction”.
Airbag punctures or leaks.
![]() Float test.TBD
Float test.TBD
Floats at all.
Freeboard compared to design.
Floats flat.
Porosity, seapage, leaks.
![]() Autopsy, inspection of internal
structure.TBD
Autopsy, inspection of internal
structure.TBD
Thickness of roof.
Thickness of floor.
Thickness of outer wall.
Thickness of cell walls.
Cell corners and edges.
Roof layer leakage into cells.
Exposure of cell remesh.
![]() Strength test to destruction.TBD
Strength test to destruction.TBD
Crush-test model at center, over 1-cell area.(how to generate such a load?)
Compression test sample of outer skin.
Compression test sample of cell walls.
Break-over test across diameter.